Scroll through Pinterest and you’re hit with a multitude of beautiful food photography and at first glance it might seem that it must be very difficult to create these images, but I’m going to let you in on the secret: it’s really not! Of course, you need an eye for styling and an understanding of how light works, but it takes very little equipment to create a shot like the ones I’m going to show you.
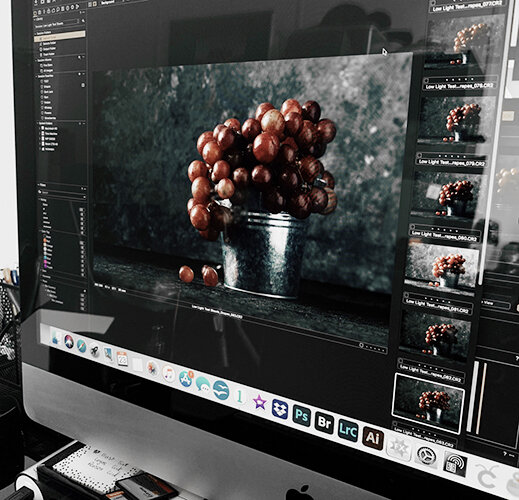
Here’s the setup:
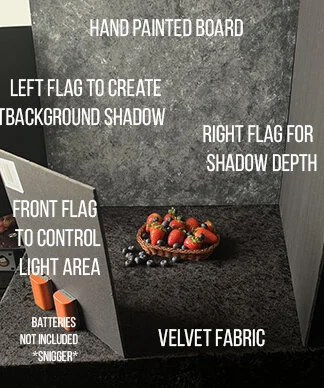
Ok, so let’s break it down…
For the hand painted board I grabbed some thin MDF that was leftover from when the husband type person built a skate ramp recently; I base coated it with matte black paint, smeared some grey randomly all over it to mute it, just leaving odd bits of black showing, then used scrunched up paper towels to ‘print’ the patchy highlights. Whole thing took less than 2 hours including drying time. Make sure all the paint you use is matte to avoid getting blowout highlights. If you want to double it as a surface, I recommend you coat it in a couple of coats of wipeable matte varnish.
I use mainly foam board and thick card for flagging light when I’m shooting; they’re light weight and do a great job of absorbing light when you want to increase your shadows (I’ll get to that). So your left flags… The one at the back does 2 jobs, it controls how much light is hitting the subject and how much is hitting your background. Play about with the position of it to suit your shot, there is no hard rule about this! Your front flag controls the width of light that can ‘funnel through’, you can see the band of light and shadow it creates. It will help to keep the shadow depth at the front that you’ll see in the final shots further down. Again, experiment in placement; the angles and distances will change depending on what you are shooting. I couldn’t find my flag holder today, so spare batteries did the job!
Fabric can be whatever you want. Try to avoid anything that is too fluffy or shiny. Again, experiment, it’s half the fun after all.
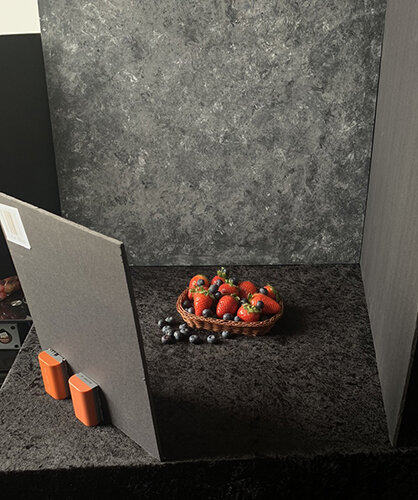
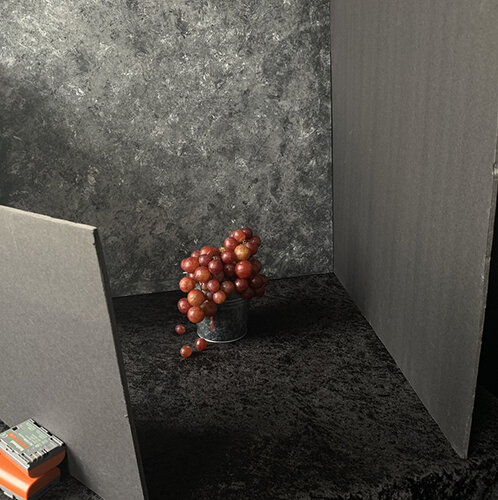
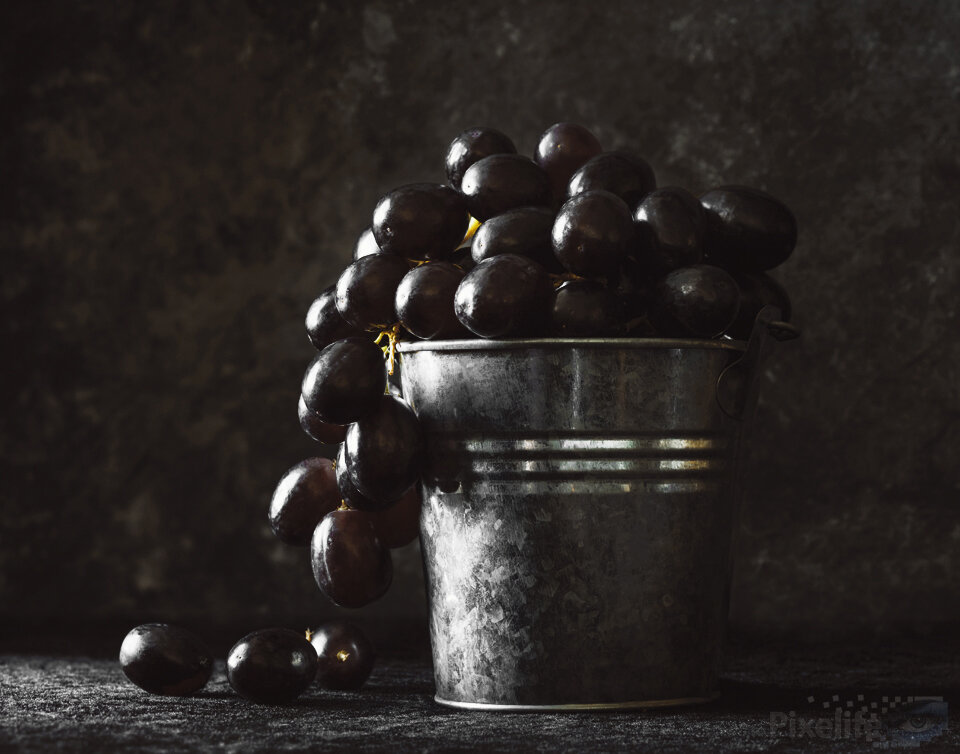
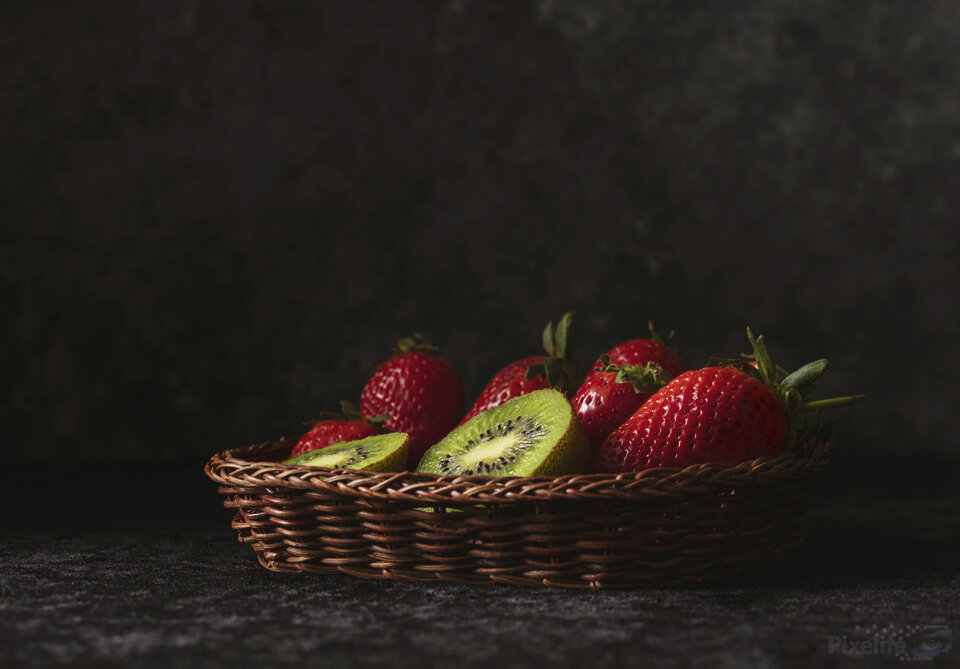
As you can see from these following images, the setup stayed the same, I just tweaked the left background flag depending on how much shadow I wanted to create. Remember, shadows are just as important as light in photography, they create depth, drama and shape! Don’t neglect your shadows.
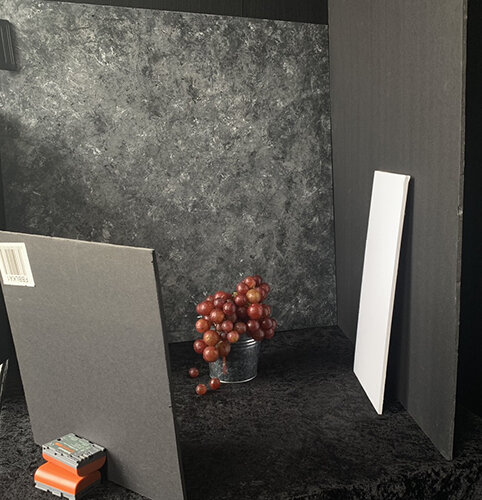
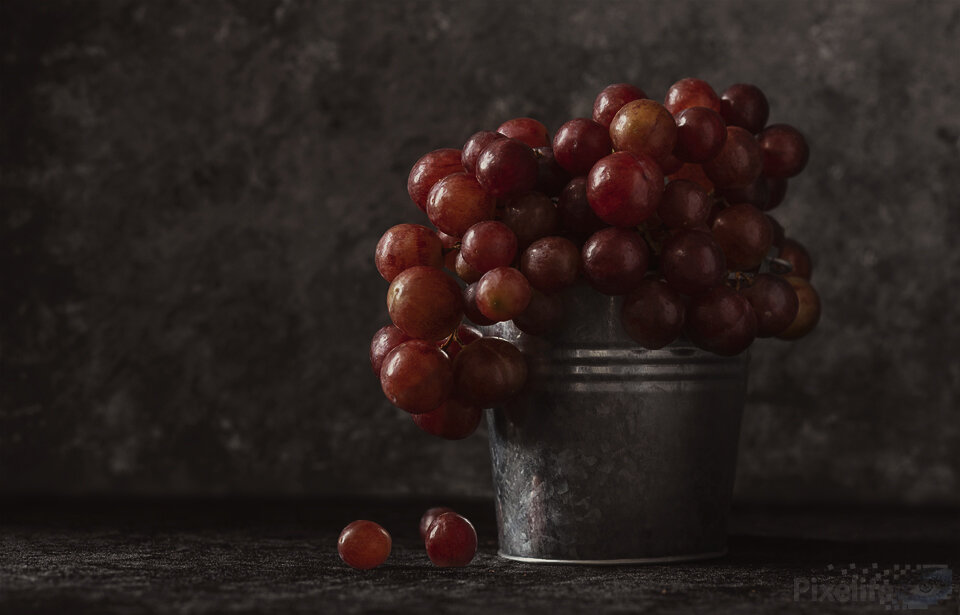
In the red grape image, I took one image with a white flag (see photo below) to bring a little bit more of a highlight into the right side of the fruit, I then comped that in via a layer mask in photoshop and just brushed in where I wanted it. This is why it’s vitally important to use a tripod for these kind of shoots.
My settings for this set were:
Camera - Canon 5DS & Canon 90mm TS lens
ISO - 200
Aperture - F7.1
Exposure - 1/10
As for retouching, I wanted to keep these images looking natural, so I opted to just go with a basic cleanup of anything obvious and then grading using a warm tone. As you can see in the images below, it works to keep them looking warm and inviting.
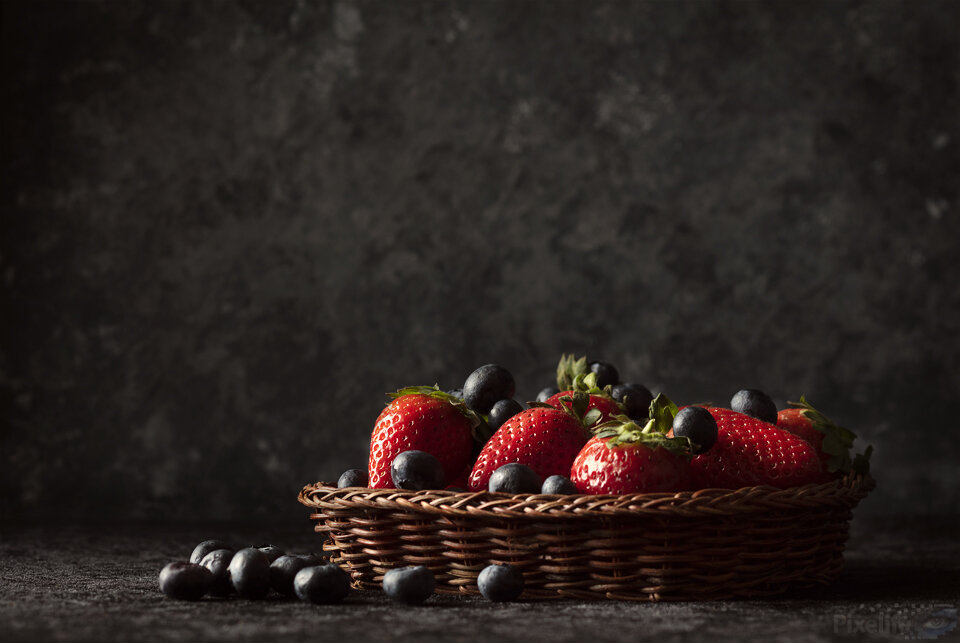
So there you have it, 4 images using the same lighting & props but minor adjustments on the flags.
See, I told you it wasn’t that hard! Now try it and let me know how you get on. I’m always happy to answer questions, so feel free to comment here or catch me on my Facebook page.
And now to go and eat all of the fruit…perks of the job ;-)